Your Complete Guide to Cooking at Home
As the temperature outside starts to cool down and the routine of a new school year commences, this is the perfect time to think about cooking more meals at home. If you currently do not spend much time in the kitchen, this could be as simple as starting with one or two meals a week!
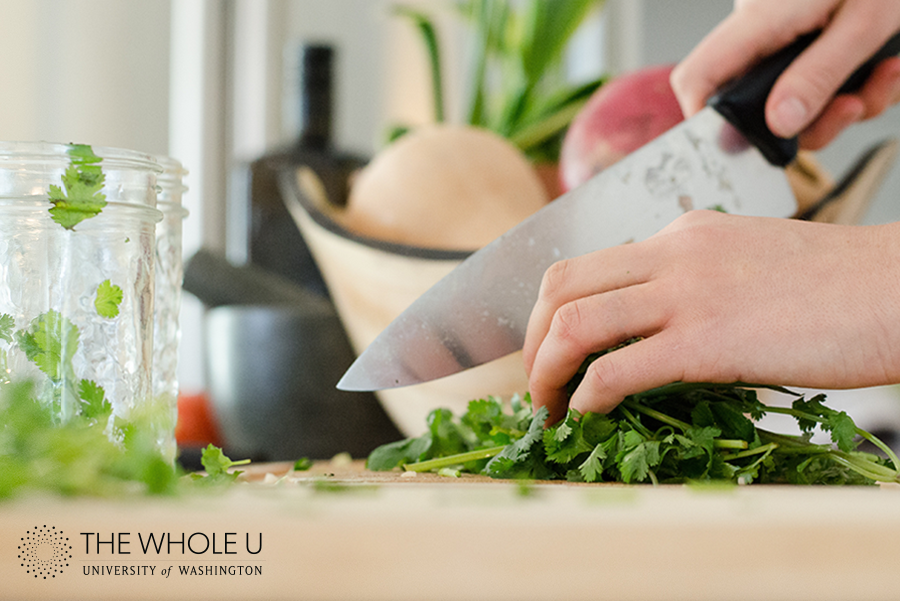
After a long day of school or work, I’ll usually come home and start cooking dinner. It’s often something very simple: cutting and roasting some vegetables, boiling water for pasta, and tossing everything with some homemade pesto and a sprinkle of Parmesan cheese. After enjoying dinner, I often get ready to start baking.
People often give me a funny look when I tell them that I am a dietitian who is also going to pastry school, but, for many years, I have used cooking and baking as a stress reliever and creative outlet and love being able to create something beautiful—and hopefully tasty—as a special treat for friends, family, and coworkers.
I find something very relaxing—meditative, even—about creaming butter and sugar, sifting flour, scooping dough, and a few minutes later savoring a warm cookie fresh out of the oven with a cup of tea. As I wait in anticipation, smelling the warm flavors of the treat baking in the oven, I take the time to wash the pile of dishes at the kitchen sink.
Whatever you decide your routine is going to be, cooking at home can easily become one of the most enjoyable and rewarding parts of the day—not to mention looked forward to!
Besides the aesthetic and sensory pleasures of preparing your own food, here are some reasons why deciding to cook at home could be one of the most rewarding decisions you make:
Cooking at home saves you money.
According to a 2017 study by researchers surveying residents of King County, Washington, those who consumed more home cooked meals were shown to have significantly lower food costs than those who ate out more often. In addition, those who ate at home more often had food choices that aligned closer to the US Dietary Guidelines for healthy eating.
While the study cannot say that the frequency of cooking at home caused the lower food budgets and healthier food choices, it certainly appears to be an association. For great meal ideas on a budget, consider checking out the Budget Bytes website which, in addition to inventive ideas, breaks down recipes by cost per preparation and serving.
Cooking at home allows you to choose your ingredients.
When eating out, you have less control over what is in the food served and how much food is served. If you or someone in your household has food allergies or intolerances, cooking at home allows you to control the ingredients and avoid cross-contamination and exposure to those offending foods.
By preparing your own food at home, you can make necessary changes as needed based on your own health needs—for example, using whole grains instead of refined grains, or adding herbs and spices instead of salt. By cooking at home, you can also have more control over your portion sizes and can easily bring balance to a favorite meal by serving up larger portions of elements that make it healthy—adding more vegetables, for example.
Cooking at home allows you and your loved ones to spend time together.
For those who live with family, significant others, or roommates, one of the benefits of cooking is spending quality time together while preparing a meal. If one person really prefers to cook, then perhaps the other can do the dishes. Even kids can help with meal preparation tasks; it’s a great way to introduce new foods and ingredients and teach lifelong cooking skills. And, when the meal is ready, sitting down together to eat is a great opportunity to spend quality time together.
For those who live by themselves, you can still find ways to spend quality time with other people with cooking at the center. One option is inviting a neighbor or friend over to share the meal that is prepared. Another option is planning a time to gather with some friends to prepare multiple meals in bulk at once, and everyone can take individual portions home to freeze and enjoy on a busy day in the future. You can also consider doing meal swaps with someone in the neighborhood.
Cooking at home doesn’t need to be complicated—it’s now easier than ever.
Sometimes it can seem intimidating to try cooking at home, but it doesn’t need to be complicated! Embrace the joy and learning process of trying out new cooking skills and recipes and—like any skill—you’ll find it becomes easier and more natural with practice.
Many chefs use YouTube or Instagram as a way to share cooking skills knowledge with others. Find a few favorites and try cooking along. Magazines are also a great source for fun, fresh recipes. If you prefer a “real” cookbook, consider checking out these picks from the University Book Store:
Another great resource in Seattle are community kitchens. These are places where people gather together to prepare a meal together, getting to learn from others’ experiences and gain cooking skills in the process.
Cooking at home creates space for mindfulness.
Taking the time to cook allows one to take a few moments to slow down and even practice some mindfulness techniques in the kitchen. Try to take a few moments to pay attention to your posture and breathing and focusing on the task at hand (instead of thinking about all the other things that need to be done). Pay attention to the array of colors of the vegetables, to the sound of the pasta water boiling on the stove, and to the smell of the garlic and oil on the stove. These can all have a stress-relieving and centering effect.
Final thoughts
The longer I spend in the kitchen, the more I realize that there is always a risk of something wrong happening: forgetting to set a timer, not measuring an ingredient correctly, accidentally swapping one ingredient for another, serving a dish that the recipients do not love.
However, I also have come to understand that each time in the kitchen is a fresh slate; even if something didn’t turn out well last time, today is a new chance to be embraced. I encourage you to be kind to yourself, and that even when things don’t turn out the way you may have envisioned, things will be okay.
Here are two recipes I love. The first can kickstart a great made-from-scratch meal and the second brings dinnertime to a satisfactory conclusion.
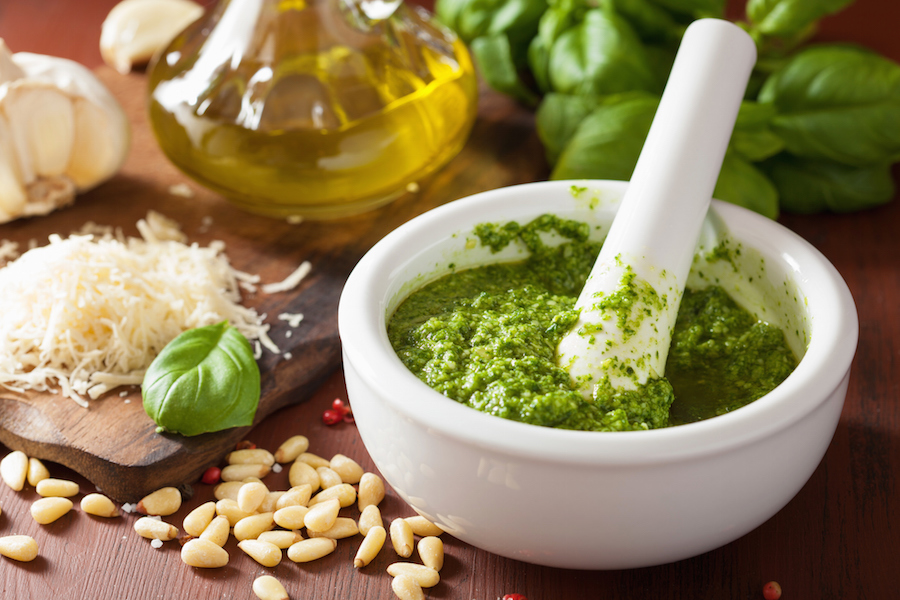
Homemade Pesto
The wonderful thing about pesto is its versatility – you can use nearly any nut or seed, greens, and cheese, and in any quantity that you would like. I normally like to just start filling up my food processor mixing bowl and adjust as needed based on what I am in the mood to eat! Pesto freezes well, so you can make a large batch and save for future meals.
- Start adding ingredients into food processor bowl or blender
- Pick a nut or seed from the following list: if time, toast 1/3 cup in a dry skillet until lightly browned; let cool. Pulse in food processor until finely ground.
- Almonds, cashews, hazelnuts, pecans, pepitas, pine nuts, pistachios, sesame seeds, walnuts
- Choose your base – chop and add 3 cups total to food processor bowl; it’s fine to mix and match!
- Arugula, basil, cilantro, collard greens, kale, mint, parsley, spinach, watercress
- Choose your seasoning – add ½ to 1 teaspoon of the following ingredients (choose up to 3); also add ¼ teaspoon kosher salt. Pulse to combine.
- Fresh oregano, fresh tarragon, fresh rosemary, garlic, lemon zest, orange zest, red pepper flakes
- Pick a cheese – grate ½ cup, and add to food processor and pulse to combine.
- Aged cheddar, aged or smoked gouda, asiago, grana Padano, gruyere, manchego, parmesan, pecorino
- Finish pesto – slowly pour in ½ cup extra virgin olive oil, pulsing to incorporate. You may also like to add a couple tablespoons of lemon juice. Transfer pesto to bowl. You’ll have about 1 cup of pesto, which will be enough for about 2 pounds of pasta.
Recipe modified from Food Network Magazine
Lemon Sugar Cookies
Makes about 60 small cookies

Ingredients
2 ¾ cups (374 grams) all-purpose flour
1 teaspoon baking soda
½ teaspoon baking powder
1 or 2 lemons
1 ½ cups (300 grams) sugar
2 sticks (8 ounces, 226 grams) unsalted butter, room temperature, cut into chunks
½ teaspoon fine sea salt
1 large egg, room temperature
1 teaspoon pure vanilla extract
Sugar, for dredging
Steps
- Preheat oven to 350*F, arrange oven racks to accommodate two baking sheets at once to save time. Line baking sheets with parchment paper or silicone mats.
- Whisk flour, baking soda, and baking powder together.
- Finely grate the zest of one lemon and squeeze the juice. If you don’t have ¼ cup, squeeze the second lemon.
- Put the sugar and lemon zest in bowl of stand mixer or in large bowl to use hand mixer. Using fingertips, mash and rub the sugar and lemon zest together until sugar is fragrant. If using stand mixer, put on paddle attachment.
- Add butter and salt to the bowl and beat on medium speed until smooth, about 2 minutes.
- Beat in the egg, followed by vanilla and lemon juice. Turn off the mixer.
- Add half the dry ingredients, and mix on low speed until almost incorporated. Scrape the sides of the bowl and add the remaining half of the dry ingredients and beat on low speed until dough comes away from bowl.
- Pour some sugar into a small bowl. Using a small cookie scoop, scoop level portions of dough or use a teaspoon to get rounded spoonfuls. Roll each portion into a ball between your palms, drop into the sugar, and roll around to coat before placing on baking sheets. These cookies spread, so ensure at least 2 inches of space between.
- Bake for 8-14 minutes, rotating baking sheets mid-way. The lower time will produce chewy cookies; the longer time will result in cookies that are chewy in the center and crisp on the edges. The cookies will be too soft to lift from the baking sheet, so transfer the baking sheet to a cooling rack and let cookies cool before moving.
- Repeat with remaining dough, always using cool baking sheets.
Recipe from Dorie’s Cookies by Dorie Greenspan
Kickstart your cooking with more resources from The Whole U!

Tina Hayashi is a registered dietitian, certified specialist in oncology nutrition, and certified nutrition support clinician. She works in the neonatal intensive care and obstetrics units at University of Washington Medical Center. In her free time, she enjoys baking, crafting, and exploring the Pacific Northwest.
Note: in this article, many websites and organizations are linked; none of these websites or organizations are affiliated with or endorsed by the University of Washington.