Video conferencing platforms like Zoom have made it much easier for us all to work remotely and stay connected. There are some important issues consider before you hit Record.
Managing and overseeing information compliance at UW
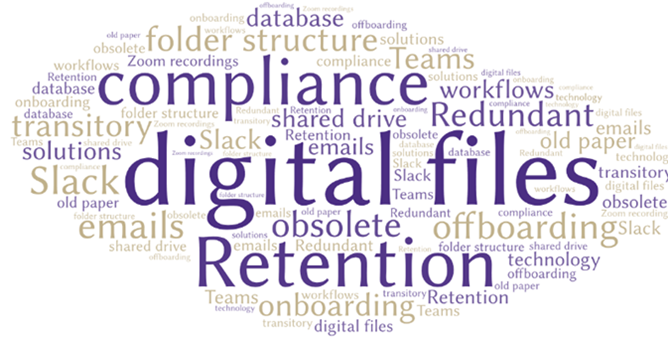
Required by RCW 40.14, Records Management Services manages and oversees compliance with state and federal laws and regulations relating to the preservation and destruction of information created and received by the University. The University and the State of Washington have designated us as the legal authority for determining how long electronic and paper records must be retained. We are responsible for establishing standards that ensure the legal legitimacy of University record-keeping systems. Learn More →
Latest News & Features
|
|
Take our Records Management Self-Assessment and learn where you or your office falls on the records management compliance scale. Evaluate your current situation and get advice on working toward a more compliant future state. |
 The Fetch the Future initiative is intended to support offices in their efforts to eliminate paper and transition to electronic recordkeeping. Our Fetch the Future Hub features a collection of tools and resources to make managing your electronic records as simple and painless as possible. |